
Understanding Taps: A Comprehensive Guide
Navigating the world of plumbing often demands detailed guides, empowering homeowners to confidently address challenges like tap repairs and installations.
Comprehensive resources detail tap types, from traditional compression designs to modern ceramic disc options, ensuring informed decisions.
Plumbers’ secrets regarding PVC connections and preventing tap breakage are revealed, alongside techniques for straight threading with tap guides.
These guides offer step-by-step instructions, safety precautions, and preventative maintenance tips for long-lasting tap performance and efficient water usage.
What is a Tap? ⎼ Definition and Function
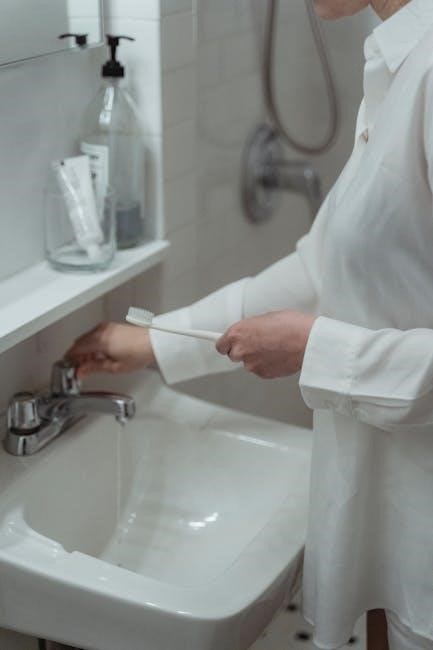
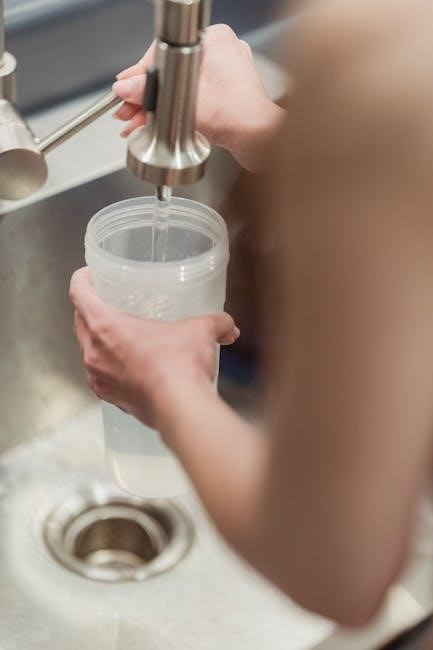
Taps, fundamentally, are valves controlling the release of a fluid – most commonly water – from a plumbing system. They serve as the interface between the pressurized water supply within pipes and our everyday usage. Understanding their function is crucial for both maintenance and repair, as highlighted in numerous plumbing guides.
Historically, taps, or faucets as they’re often called, were simple mechanisms, but modern iterations incorporate sophisticated designs like ceramic discs for durability and precise control. The core function remains consistent: to start, stop, and regulate water flow.
Guides emphasize that a tap’s operation relies on a sealing mechanism – washers, O-rings, or ceramic cartridges – preventing leaks when closed. Proper function ensures efficient water usage and prevents costly damage. Learning about these components, as detailed in plumbing resources, empowers homeowners to diagnose and address common issues effectively.
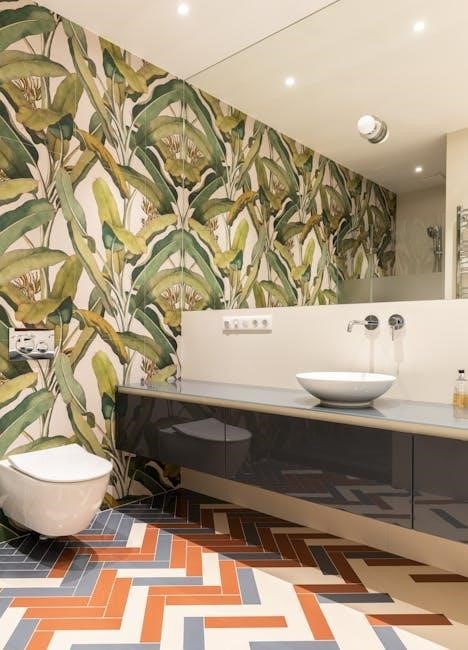
Essentially, a tap is a vital component of any plumbing system.
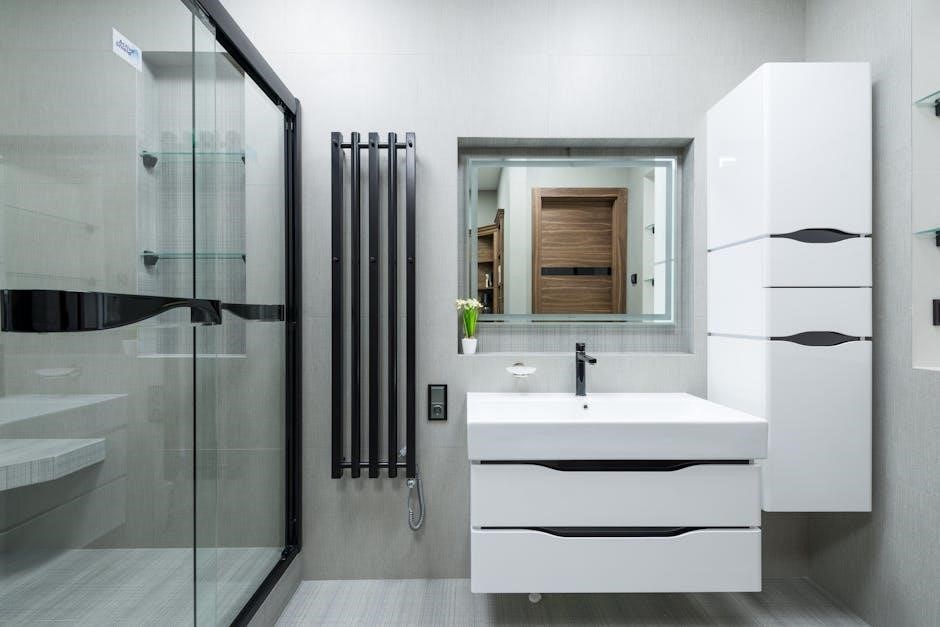
Types of Taps: A Detailed Overview
Plumbing guides categorize taps into several distinct types, each with unique characteristics and operational mechanisms. Compression taps, the traditional design, utilize rubber washers to seal the water flow, often requiring more force to operate and prone to drips. Modern alternatives, like ceramic disc taps, offer superior durability and precise temperature control, minimizing leaks.
Ball taps provide versatility with a single lever controlling both flow and temperature, while lever taps prioritize ease of use and stylistic appeal. Choosing the right tap depends on individual preferences and plumbing system requirements.
Guides detail the internal components of each type, aiding in troubleshooting and repair. Understanding these differences is crucial for effective maintenance and informed decision-making when replacing existing taps. Proper selection ensures optimal performance and longevity within your home’s plumbing.
Compression Taps: The Traditional Design
Plumbing guides identify compression taps as the oldest and most traditional tap design, relying on a simple yet effective mechanism. These taps utilize a rubber washer compressed against a valve seat to control water flow. Turning the handles forces the washer down, stopping the water; lifting allows flow.
While straightforward, compression taps are known for potential issues. Guides frequently highlight worn washers as a primary cause of dripping, necessitating replacement. The force required to fully shut off the water can also lead to wear and tear on internal components.
Despite their drawbacks, compression taps remain a cost-effective option and are relatively easy to repair with basic plumbing knowledge, as detailed in many DIY guides.
Ceramic Disc Taps: Modern and Durable
Plumbing guides consistently position ceramic disc taps as a modern advancement in tap technology, prized for their durability and leak resistance. Unlike traditional designs, these taps employ two ceramic discs that slide against each other to control water flow. This design minimizes wear and tear, significantly reducing the likelihood of drips.
Guides emphasize the precision engineering of ceramic discs, allowing for smooth operation and precise temperature control with a quarter-turn lever. Their robust construction translates to a longer lifespan compared to compression taps.
While generally reliable, guides also note that ceramic disc taps can be more complex to repair, often requiring cartridge replacement rather than simple washer changes.
Ball Taps: Versatility and Control
Plumbing guides frequently highlight ball taps as offering exceptional versatility and precise control over both water flow and temperature. These taps utilize a slotted metal or plastic ball inside the tap body, which regulates the mixing of hot and cold water.
Guides explain that the single-handle design allows for effortless one-handed operation, making them a popular choice for modern kitchens and bathrooms. The ball mechanism provides a wide range of adjustability, enabling users to quickly achieve their desired water temperature.
However, guides also caution that ball taps contain numerous small parts, potentially making repairs more challenging than simpler tap types. Regular maintenance, as detailed in plumbing resources, is key to preventing leaks and ensuring longevity.
Lever Taps: Ease of Use and Style
Plumbing guides consistently showcase lever taps as a blend of user-friendly operation and contemporary style. These taps, distinguished by their single lever handle, offer intuitive control over water flow and temperature, requiring minimal effort to adjust.
Guides emphasize their accessibility, making them an excellent choice for individuals with limited dexterity or those seeking a streamlined aesthetic in their kitchens and bathrooms. The sleek design of lever taps complements various décor styles, from minimalist to modern.
Maintenance guides often detail the relatively simple repair process for lever taps, typically involving cartridge replacement. Choosing quality materials, as advised by plumbing experts, ensures durability and long-term performance.

Common Tap Problems and Solutions
Plumbing guides detail frequent tap issues—dripping, low pressure—and their fixes, like washer replacement or aerator cleaning, ensuring efficient water use.
Dripping Taps: Causes and Fixes
Plumbing guides consistently identify a dripping tap as a common household issue, often stemming from relatively simple causes. The most frequent culprit, as detailed in numerous repair manuals, is a worn washer – a small, inexpensive component easily replaced with basic tools.
However, a persistent drip can also signal O-ring problems, requiring identification and replacement to restore a watertight seal. More complex scenarios involve damage to the valve seat, potentially necessitating repair or complete replacement, a task often best left to a qualified plumber.
Guides emphasize the importance of promptly addressing drips, not only to prevent water wastage but also to avoid potential damage to surrounding fixtures and structures. Regular inspection and timely intervention are key to maintaining a functional and efficient tap.
Worn Washers: The Most Frequent Culprit
Plumbing guides universally acknowledge worn washers as the primary cause of dripping taps. These rubber or neoprene components create a seal against the valve seat, and constant use gradually degrades their integrity. Over time, this leads to imperfections in the seal, allowing water to leak past even when the tap is fully closed.
DIY guides consistently highlight washer replacement as a straightforward repair, achievable with minimal plumbing experience. The process involves shutting off the water supply, disassembling the tap handle, and removing the old washer.
Selecting the correct replacement washer – matching size and material – is crucial for a successful repair. Numerous online resources and plumbing manuals provide detailed diagrams and instructions to ensure a proper fit and restore watertight operation.
O-Ring Issues: Identifying and Replacing
Plumbing guides frequently detail O-ring failures as a common source of tap leaks, often occurring alongside worn washers. These small, circular rubber seals prevent water from escaping around the tap stem or cartridge. Deterioration, cracking, or displacement of an O-ring compromises this seal, resulting in drips or seepage.
Identifying O-ring issues typically involves disassembling the tap and visually inspecting the rings for damage. DIY guides emphasize careful removal, as O-rings can be brittle with age. Lubricating the new O-ring with silicone grease before installation is a recommended practice.
Selecting the correct size and material replacement O-ring is vital for a lasting repair. Plumbing resources often provide sizing charts and compatibility information to ensure a proper fit and prevent future leaks.
Valve Seat Damage: Repair or Replacement
Plumbing guides highlight valve seat damage as a more complex tap issue than simply replacing washers or O-rings. The valve seat is the fixed surface against which the washer seals, and corrosion or pitting can prevent a watertight closure, leading to persistent drips. Determining the extent of the damage dictates whether repair or full replacement is necessary.
Minor imperfections can sometimes be addressed with a valve seat dressing tool, effectively smoothing the surface and restoring a proper seal. However, severely damaged seats often require replacement, a task best suited for experienced plumbers.
DIY guides caution against attempting valve seat replacement without the proper tools and knowledge, as incorrect installation can exacerbate the problem. Resources emphasize the importance of matching the new seat to the tap model for compatibility.
Low Water Pressure from Taps: Troubleshooting
Plumbing guides consistently identify low water pressure as a common household frustration, often stemming from issues directly at the tap itself or further within the plumbing system. Initial troubleshooting should focus on the aerator, a small screen at the tap’s outlet, which frequently accumulates mineral deposits and debris, restricting flow.
DIY guides recommend unscrewing the aerator and thoroughly cleaning it, often resolving the pressure issue. If the problem persists, investigate supply pipes for kinks or restrictions. Checking for partially closed shut-off valves is also crucial.
More complex cases may involve cartridge problems within the tap, requiring replacement. Comprehensive resources detail cartridge identification and replacement procedures, emphasizing safety precautions and proper tool usage.
Aerator Blockage: Cleaning and Maintenance
Plumbing guides universally highlight aerator blockage as a primary cause of reduced tap water pressure. These small fixtures, designed to mix air with water for a smoother flow, readily accumulate mineral deposits, sediment, and debris over time. Regular cleaning is therefore essential for maintaining optimal performance.
DIY guides detail a simple cleaning process: unscrew the aerator, disassemble its components, and soak them in vinegar to dissolve mineral buildup. A small brush can then remove any remaining particles.
Preventative maintenance involves periodic cleaning, even before noticeable pressure loss. Resources emphasize the importance of gentle handling during disassembly and reassembly to avoid damaging the delicate components. Consistent care extends the aerator’s lifespan and ensures efficient water flow.
Supply Pipe Issues: Checking for Restrictions
Plumbing guides consistently advise investigating supply pipe restrictions when diagnosing low water pressure at a tap. Corrosion, sediment buildup, or even partially closed valves within the pipe network can significantly impede water flow. A systematic check is crucial for identifying the source of the problem.
DIY guides recommend starting by inspecting the shut-off valves connected to the tap, ensuring they are fully open. Further investigation may involve tracing the supply pipes, looking for visible signs of corrosion or damage.
More advanced troubleshooting, detailed in comprehensive plumbing resources, suggests flushing the pipes to dislodge sediment. If restrictions persist, professional assistance may be required to assess and repair or replace damaged pipe sections.
Cartridge Problems: Replacement Guide
Plumbing guides frequently address cartridge issues as a common cause of tap malfunctions, particularly in single-handle models. A failing cartridge can lead to dripping, inconsistent water temperature, or difficulty controlling water flow. Fortunately, cartridge replacement is often a manageable DIY project.
Detailed guides emphasize the importance of first shutting off the water supply before disassembly. Removing the tap handle and retaining clip reveals the cartridge, which can then be carefully extracted.
Guides stress matching the new cartridge precisely to the old one. Proper installation involves aligning the cartridge correctly and securing it with the retaining clip. Reassembly and testing complete the process, restoring optimal tap function.
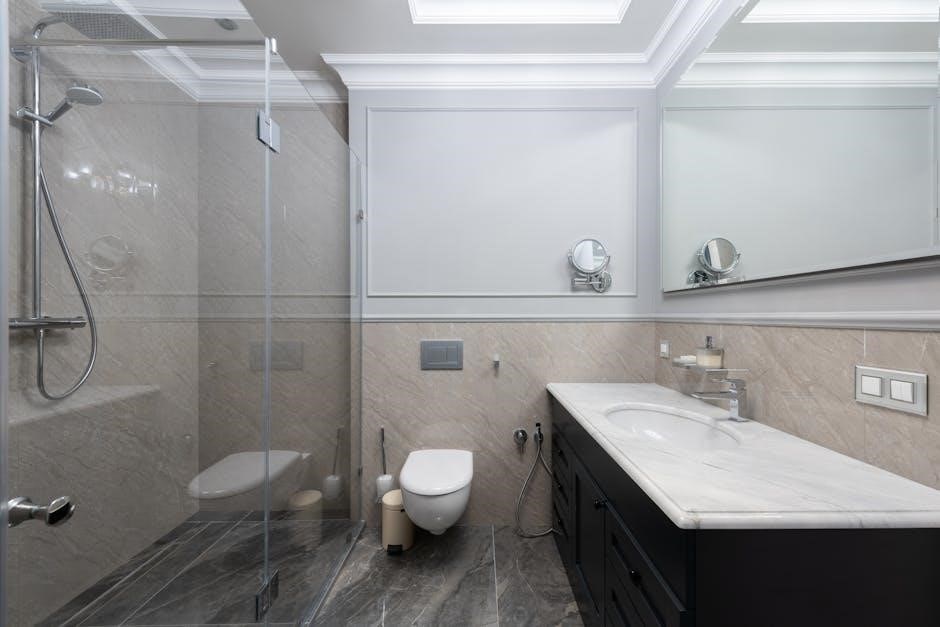
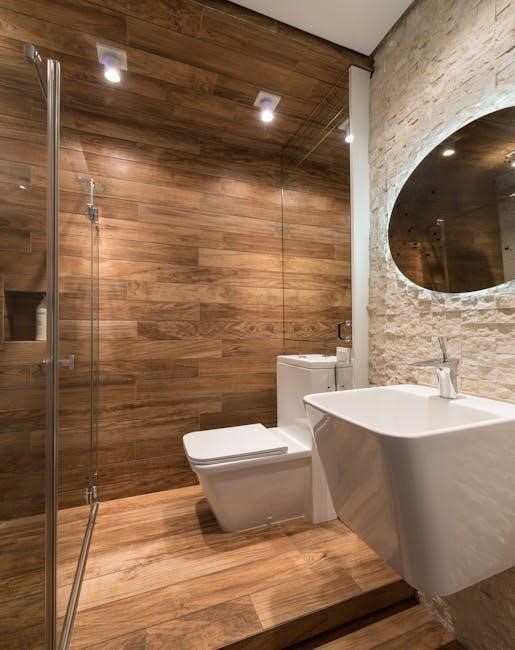
Tap Installation and Maintenance
Plumbing guides detail step-by-step tap installation, emphasizing proper pipe connections and tool selection. Regular cleaning and leak checks ensure longevity and efficiency.
Installing a New Tap: Step-by-Step Instructions
Before beginning, gather necessary tools – adjustable wrench, basin wrench, screwdriver, plumber’s putty, and Teflon tape. Shut off the water supply to the existing tap, then disconnect the old tap’s water supply lines.
Carefully remove the old tap, cleaning the sink surface thoroughly. Apply plumber’s putty around the base of the new tap to create a watertight seal.
Position the new tap and secure it with the mounting hardware, ensuring it’s stable and aligned correctly. Connect the water supply lines, using Teflon tape on threaded connections to prevent leaks.
Tighten all connections securely, but avoid over-tightening. Slowly turn the water supply back on, checking for any leaks around the tap base and supply lines. Finally, test the tap’s functionality, verifying both hot and cold water flow.
Tapping into Existing Pipes: A Plumber’s Guide
Successfully tapping into existing pipes requires precision and adherence to safety protocols. Begin by depressurizing the line and removing any entrapped air to prevent hazardous situations. Selecting the correct tools, including specialized core cutters designed for specific pipe materials, is crucial for clean connections.
Utilize a tap guide, like the V-TapGuide, to ensure straight, accurate threads when creating openings for fittings. Avoid using auger or twist drill bits for tapping, as they can compromise the integrity of the pipe.
Never attempt to tap iron pipe threads into PVC; compatibility is paramount. Prioritize safety by wearing appropriate protective gear and understanding local plumbing codes before commencing any work.
Choosing the Right Tools for Tapping
Selecting the appropriate tools is fundamental for successful and safe pipe tapping. Core cutters, specifically designed with exits for various pipe types, are essential for creating precise connections. A high-quality tap, matched to the desired thread size and pipe material, is non-negotiable.
Crucially, avoid using auger bits or standard twist drills for tapping operations; these lack the precision needed and can damage the pipe. A reliable tap guide, such as the V-TapGuide, is invaluable for maintaining straight threads, especially when working on corners or round tubing.
Ensure all tools are in good working condition and appropriate for the task at hand, prioritizing safety and preventing tap breakage.
Safety Precautions When Tapping Pipes
Prioritizing safety is paramount when tapping pipes. Always depressurize the line completely before commencing any work to prevent unexpected water release and potential injury. Thoroughly vent entrapped air from the pipes; failure to do so can create a hazardous situation due to pressure build-up.
Wear appropriate personal protective equipment, including safety glasses to shield your eyes from metal shavings and gloves to protect your hands. Exercise caution when using power tools, ensuring you understand their operation and safety features.
Be mindful of surrounding structures and potential electrical wiring. A well-lit workspace and a clear understanding of the plumbing system are also crucial for a safe tapping process.
Preventative Maintenance for Long-Lasting Taps
Regular cleaning and polishing are fundamental to maintaining tap longevity and aesthetic appeal. Remove mineral deposits and grime with a soft cloth and appropriate cleaning solutions, avoiding abrasive materials that can damage the finish. Proactive leak detection is equally vital; promptly address any drips or signs of moisture to prevent water waste and potential damage.
Periodically inspect tap components, such as washers and O-rings, for wear and tear, replacing them as needed. Familiarize yourself with your tap’s specific maintenance requirements, consulting the manufacturer’s guide if necessary.
Consistent preventative care extends tap lifespan, reduces repair costs, and ensures efficient water usage.
Regular Cleaning and Polishing
Maintaining a pristine tap appearance and optimal function hinges on consistent cleaning and polishing. Utilize a soft, non-abrasive cloth to gently wipe away water spots, mineral buildup, and everyday grime. Avoid harsh chemical cleaners, as these can corrode finishes and damage tap components. Mild soap and water are often sufficient for routine cleaning.
For stubborn deposits, consider a specialized tap cleaner designed for your tap’s material – chrome, stainless steel, or brass. Polishing restores shine and protects against future tarnishing. Regular attention prevents buildup, ensuring a sparkling fixture and extending the tap’s lifespan.
Consistent care preserves both aesthetics and functionality.
Checking for Leaks and Addressing Them Promptly
Regularly inspect your taps for any signs of leaks – drips, moisture around the base, or dampness in the surrounding area. Even a small drip can waste significant water and potentially cause damage over time. Prompt attention is crucial to prevent escalating issues and costly repairs.
Identify the leak’s source; it could be a worn washer, O-ring, or valve seat. Simple fixes, like replacing a washer, are often DIY-friendly. However, more complex leaks may require a professional plumber. Addressing leaks immediately conserves water, protects your home from water damage, and maintains efficient plumbing.
Don’t delay – a small problem quickly becomes a big expense.
Specialized Tap Tools and Techniques
Precision tapping relies on specialized tools like tap guides and core cutters, ensuring straight threads and accurate connections for both metal and PVC pipes.
Using a Tap Guide: Ensuring Straight Threads
Achieving perfectly straight threads when tapping holes, particularly at corners or within round tubing, can be remarkably challenging without the proper tools. A tap guide serves as an invaluable aid, meticulously aligning the tap to prevent wandering and ensure a consistently straight thread.
The V-TapGuide, specifically, excels at restoring damaged internal threads, accepting machine screws or bolts with renewed precision. Utilizing a tap guide dramatically reduces the risk of tap breakage, a common frustration for both novice and experienced users.
These guides make the process quick and easy, especially on flat materials. They are essential for maintaining accuracy and preventing costly errors during tapping operations, ultimately contributing to stronger and more reliable connections.
V-TapGuide: A Detailed Explanation
The V-TapGuide represents a specialized tool designed to meticulously guide hand-tapped threads, specifically for creating internal threads to accommodate machine screws or bolts; Its primary function is to restore damaged internal threads, offering a cost-effective alternative to replacing entire components.
This innovative guide excels at ensuring accuracy, particularly when tapping in challenging locations – corners, round tubing, or flat surfaces. By maintaining precise alignment, the V-TapGuide significantly minimizes the likelihood of tap breakage, a frequent issue when tapping manually.
Its design facilitates quick and easy operation, streamlining the tapping process and enhancing overall efficiency. The V-TapGuide is a crucial asset for anyone seeking professional-quality threaded connections.
Core Cutters: For Precise Tap Connections
Core cutters are specialized tools engineered to create precise connections when tapping, particularly crucial for achieving secure and reliable joints in plumbing systems. These cutters are specifically designed with strategically positioned exits, ensuring clean and accurate material removal during the tapping process.
Unlike conventional methods, core cutters offer enhanced control and minimize the risk of damaging surrounding materials. They are particularly valuable when working with various pipe materials, demanding precision and preventing unwanted burrs or irregularities.
It’s vital to avoid using auger bits or twist drills for taps, as they lack the necessary precision. Core cutters represent a superior alternative, guaranteeing accurate tap connections and contributing to the longevity of plumbing infrastructure.
Advanced Tap Considerations
Mastering tapping requires understanding metal pipe best practices, avoiding breakage, and ensuring compatibility when working with PVC pipes and taps for optimal results.
Tapping Metal Pipes: Best Practices
Successfully tapping metal pipes demands meticulous preparation and execution. Begin by selecting the correct tap size and material, ensuring compatibility with the pipe’s composition – avoid tapping iron pipe threads into PVC.
Prior to initiating the tapping process, securely clamp the pipe to prevent movement and utilize a tap guide to maintain straight, accurate threads, especially when working on corners or round tubing.
Lubrication is crucial; apply cutting oil liberally to reduce friction and prevent tap breakage. Employ a consistent, controlled turning motion, backing off frequently to clear chips and redistribute the lubricant.
Avoid excessive force, as this significantly increases the risk of tap fracture. Remember to depressurize the line and remove any entrapped air before tapping to prevent hazardous situations.
Regularly inspect the tap for wear and tear, replacing it when necessary to maintain precision and efficiency.
Avoiding Tap Breakage: Tips and Techniques
Preventing tap breakage is paramount for efficient and safe tapping operations. Utilizing a tap guide, like the V-TapGuide, dramatically reduces stress on the tap, ensuring straight threads and minimizing the risk of fracture, particularly on challenging angles.

Consistent lubrication with cutting oil is essential, reducing friction and heat buildup. Avoid aggressive forcing; instead, employ a smooth, controlled turning motion, frequently backing off the tap to clear chips.
Never use auger bits or twist drills for tapping, as they are not designed for this purpose and can easily damage the tap. Regularly inspect the tap for wear, and replace it promptly if any signs of damage are detected.
Proper pipe preparation and secure clamping are also vital. Remember, a broken tap can be incredibly difficult and costly to remove.
Working with PVC Pipes and Taps: Compatibility
Compatibility between taps and PVC pipes requires careful consideration. It’s crucial to understand that iron pipe threads are not suitable for direct tapping into PVC; attempting this can compromise the integrity of the PVC material and lead to leaks or failures;
Instead, utilize specialized Core Cutters designed with exits specifically for PVC, ensuring a secure and watertight connection. These cutters create precise openings without causing stress fractures in the PVC.
Always use appropriate PVC cement and primer to bond fittings securely. When tapping for threaded connections, consider using threaded PVC adapters rather than directly tapping the pipe.
Properly sized taps and careful technique are essential to avoid cracking or damaging the PVC. Following established plumbing guides ensures a reliable and long-lasting connection.